 Last week I challenged myself to trying a new type of nail treatment: bubble nail art! I have always wanted to test the look, but didn’t know how to do it myself.
When a Pupa Nail Art kit came my way, I was excited (albeit nervous) to give it a try.

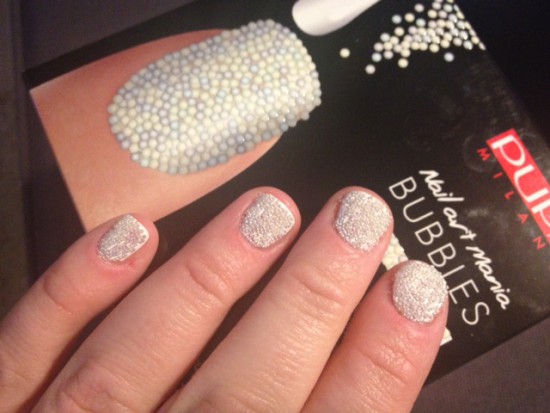
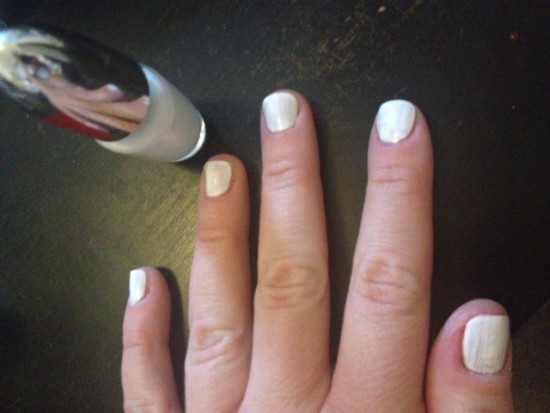
The bubble polish is surprisingly easy to use. First, apply a coat of the nail polish base colour and wait five minutes. Then, working one nail at a time, apply a second coat of colour. Over a special tray (which is included in the kit), you can pour the pearl beads over the nail, so the excess beads collect in the tray – it’s made of anti-static plastic, so it allows you to gather the unused beads and pour them back into the bottle when finished.
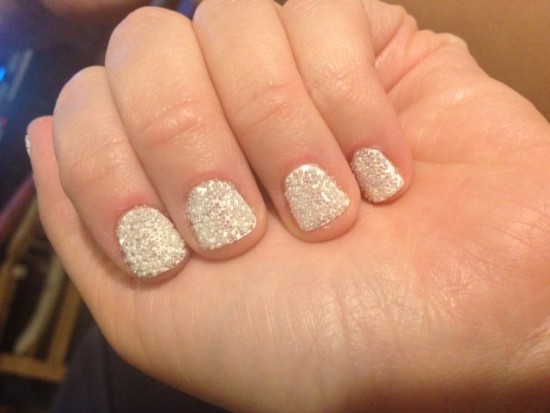
Gently press the pearls into the nail to make them stick closely together. Wait 15 and voila – your bubble nails are ready!
The beads are glass micro-pearls with various colors in their finish and create a 3D effect. I used a cool, icy blue, which reflected beautifully under light.
Pupa’s Bubble Nail Art kit is available in six limited-edition colours. The nail polish is made without chemicals formaldehyde, toluene, camphor and DBP.
For a tutorial video on how to create your own bubble nails, click here.
Text: Lydia Parafianowicz